Try This Chevron Nail Art Tutorial For a Retro-Chic Mani
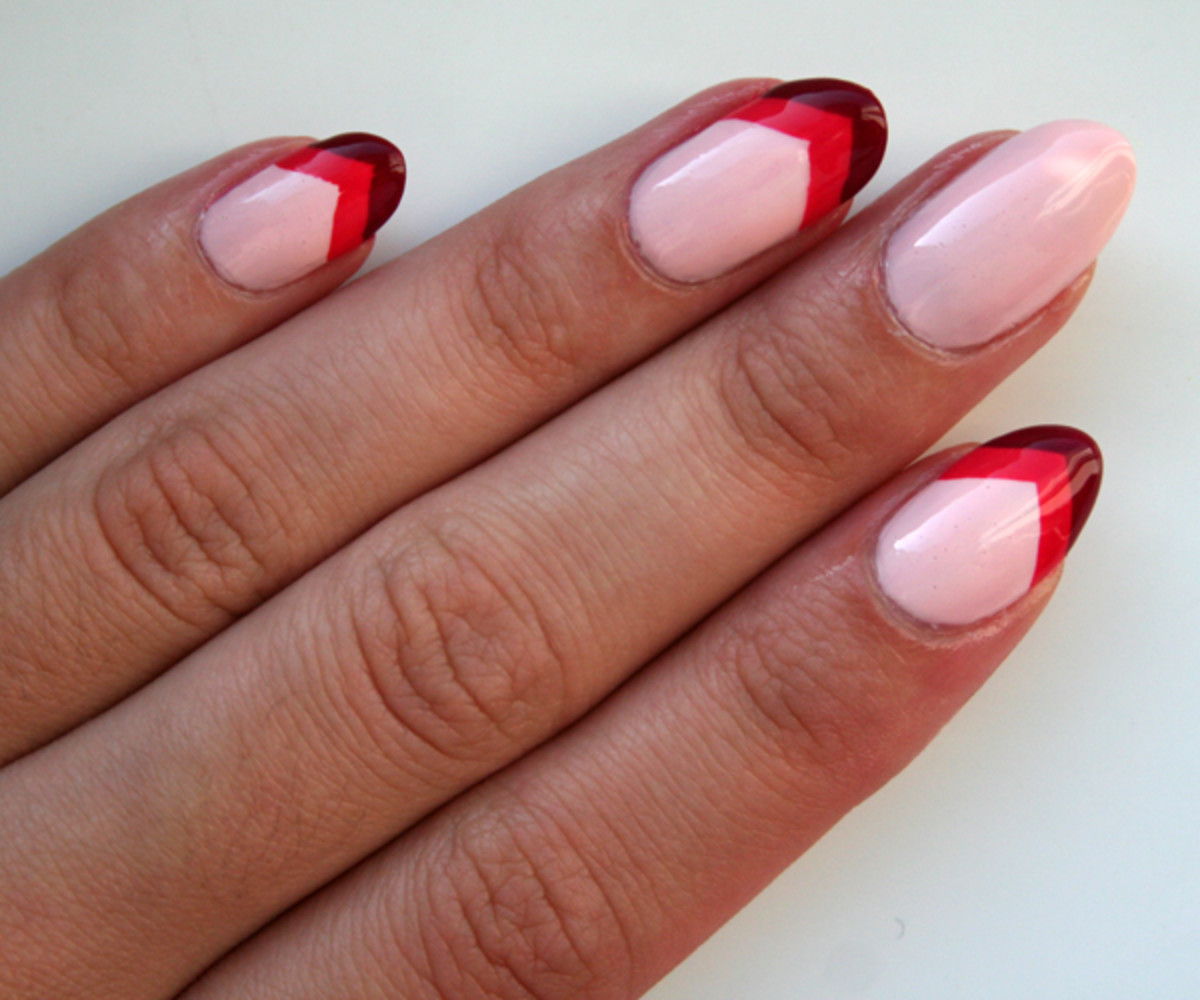
I'm all about nail art, but sometimes I'm too lazy (and impatient) to do the fancy stuff. Recently, I was sent three gorgeous new nail shades to test, and I immediately thought: “chevrons!” They're chic, graphic, easy to do, and this colour combo just happened to turn into something retro and vintage-y.
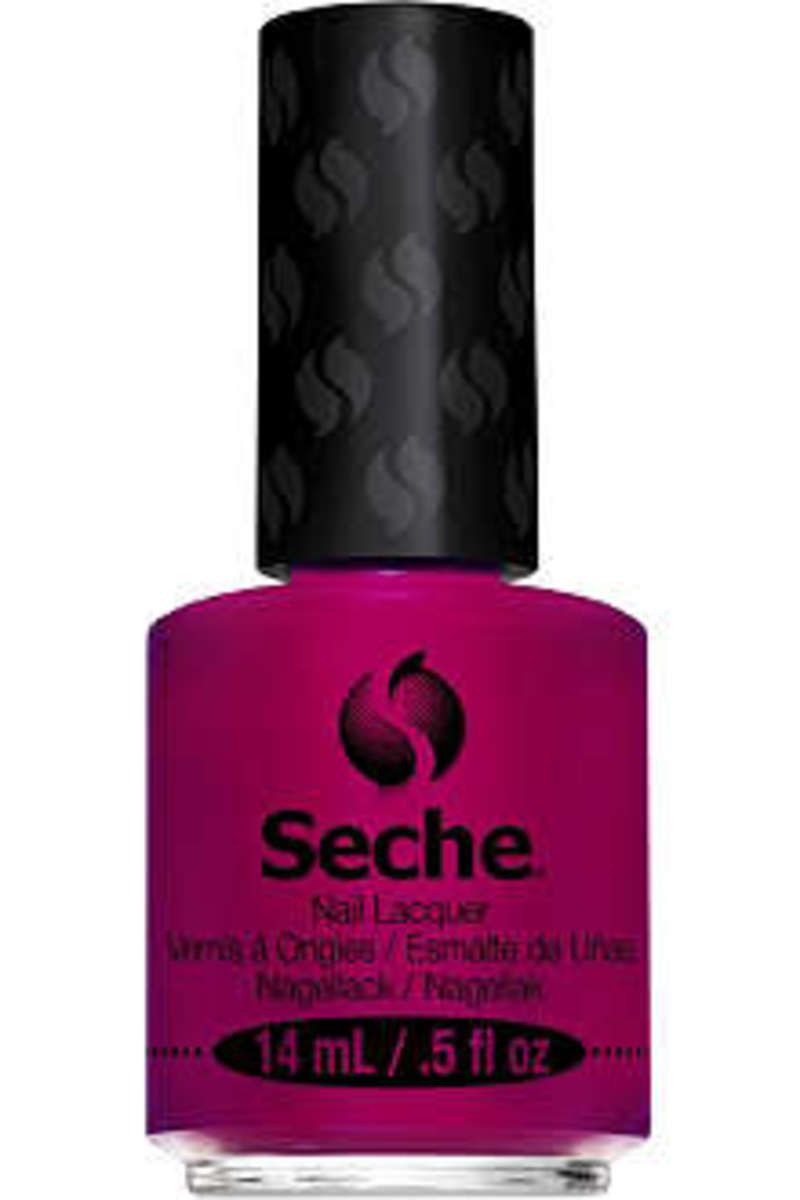
You could use any colour combo, but the three shades I used (Rose II, Coral, and Irresistible, above) are from Seche's first-ever colour collection. Yep, the same company that makes the famous Seche Vite top coat now has 32 nail polish colours, all formulated to deliver rich pigment and high shine in one application only!
You will need a teeny, tiny bit of patience for this mani, but c'mon, the results are so worth it; just play an episode of Girls in the background. Here's how to do it.
Chevron Nails Step 1
Start with a pale pink base; I'm using Seche Nail Lacquer in Rose II. Once that's pretty much dry, apply top coat. (I'm obsessed with Essie's Good to Go, but I've also heard wonders about Seche Vite—give it a try!)
Now, turn your attention to Girls and watch Hannah be her awkward yet amazing self while you let that dry completely for at least five minutes. If you don't, then when you get to Step 3 and put tape on your nail, it will literally peel the nail polish right off with it—not cool! (So if you think you can skip top coat, you can't! Even when you think your base colour is dry, it will still peel off. Trust me, I speak from experience.)
Chevron Nails Step 2
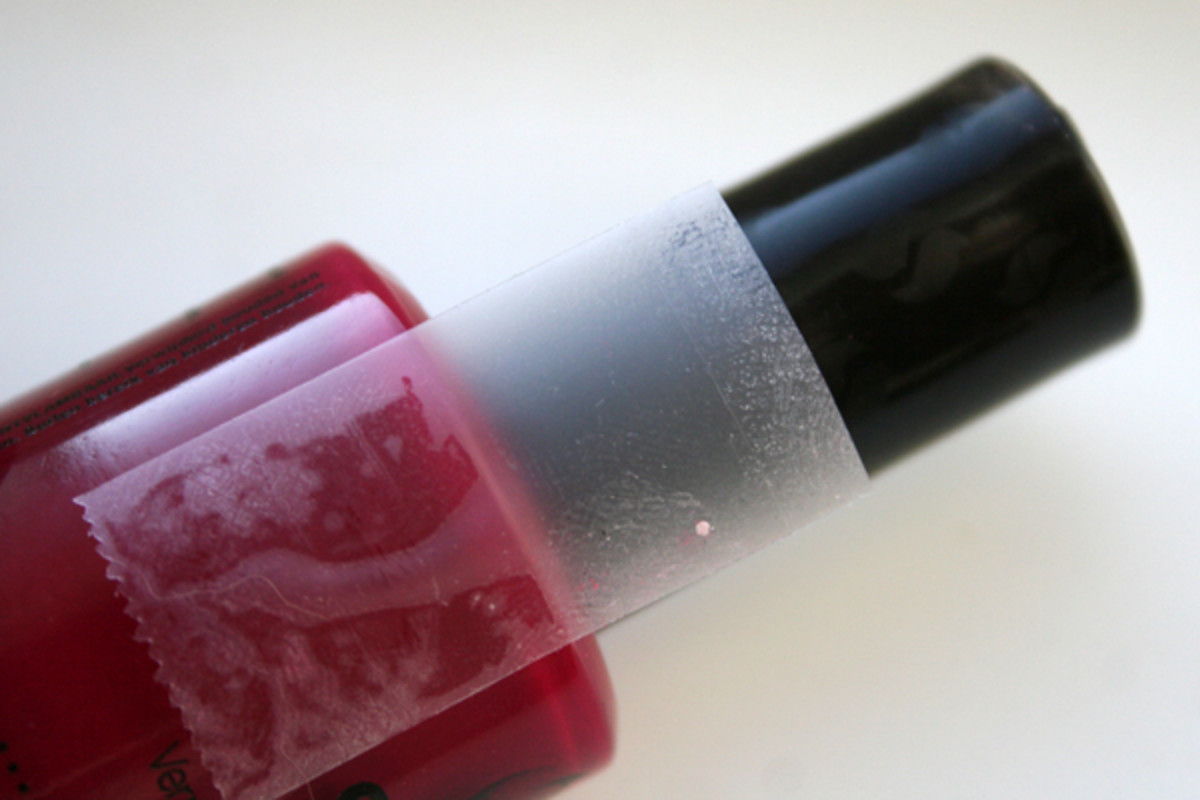
Pause Girls. Take a piece of Scotch tape and cut the perforated edge with a pair of scissors, so that you have a perfectly straight line.
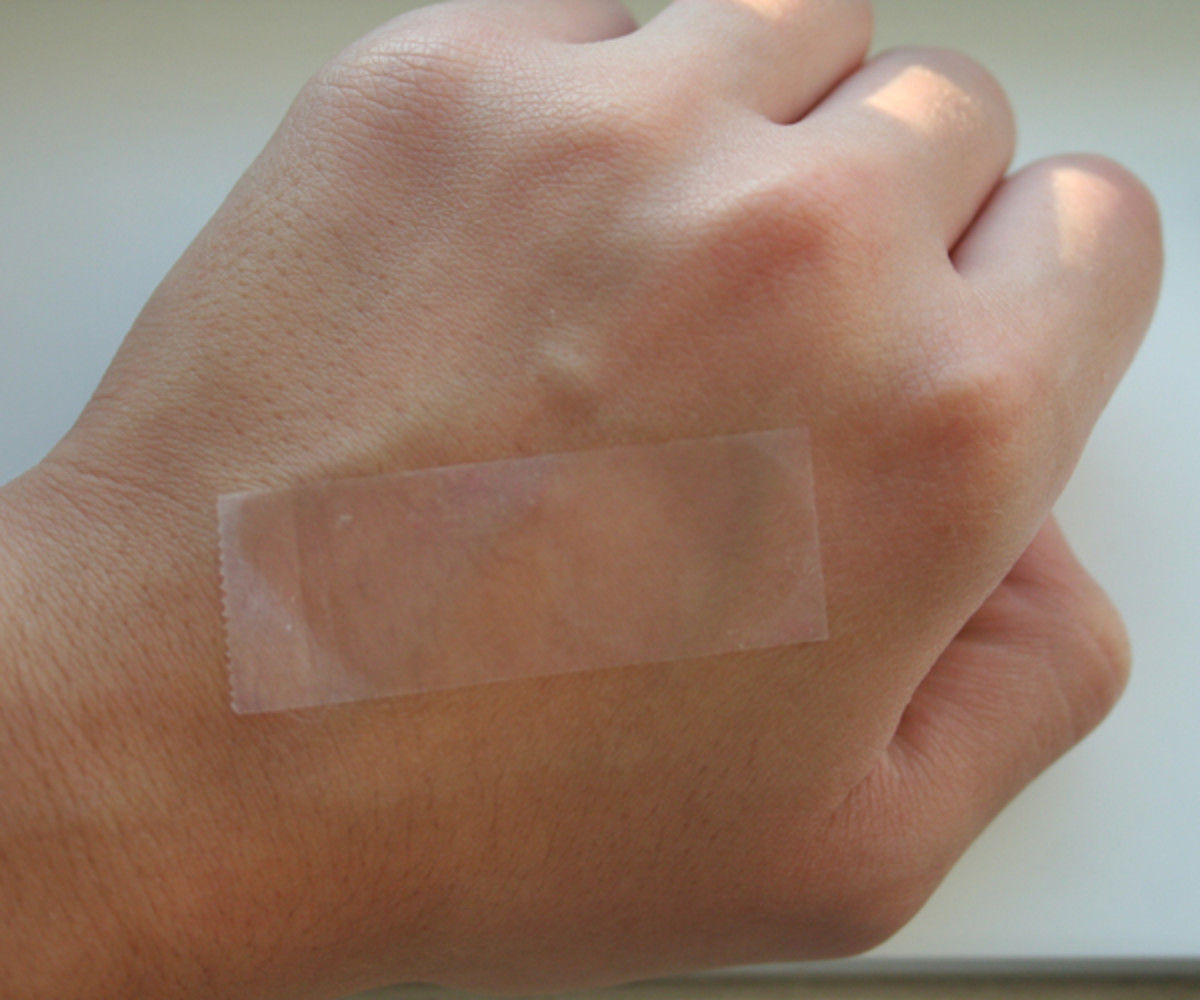
Then, put that piece of tape on your skin and pull it off, to remove some of the stickiness.
Chevron Nails Step 3
Once you've SURE your polish and top coat are dry, place the piece of tape on your nail on the diagonal, so that the corner is facing up, like a triangle. This will create your chevron shape. Lightly pat down on the tape to make sure the edges are not lifted from the nail; you don't want polish to get under any bubbles and ruin a straight line.
Chevron Nails Step 4
Now apply the second colour, Seche Nail Lacquer in Coral, to the exposed nail. Don't worry about being messy; you'll clean it up later.
Chevron Nails Step 5
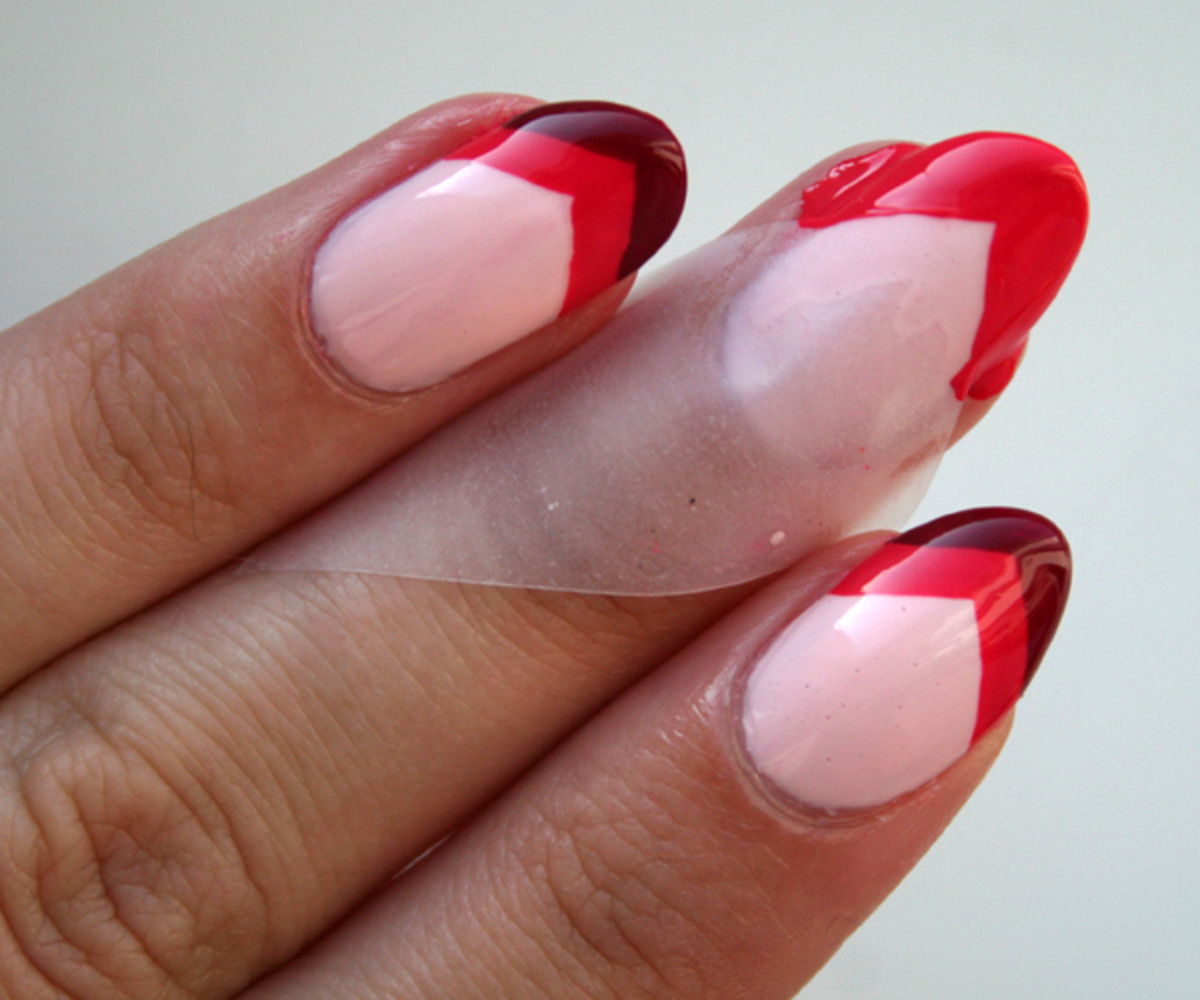
Quickly but carefully peel the tape off right away. If you do this properly, you should have a pretty perfect line. If you wait too long, the polish will get tacky and it'll be harder to remove the tape without the polish lifting at the edges and smudging.
After you do that, hit play on Girls again and giggle at how ridiculously cute Charlie is for about five minutes—that should be easy to do—while you wait for the Coral you just applied to dry. Then, add top coat. While it dries, marvel over how Shoshanna is, like, so totally awesome for a few minutes.
Chevron Nails Step 6
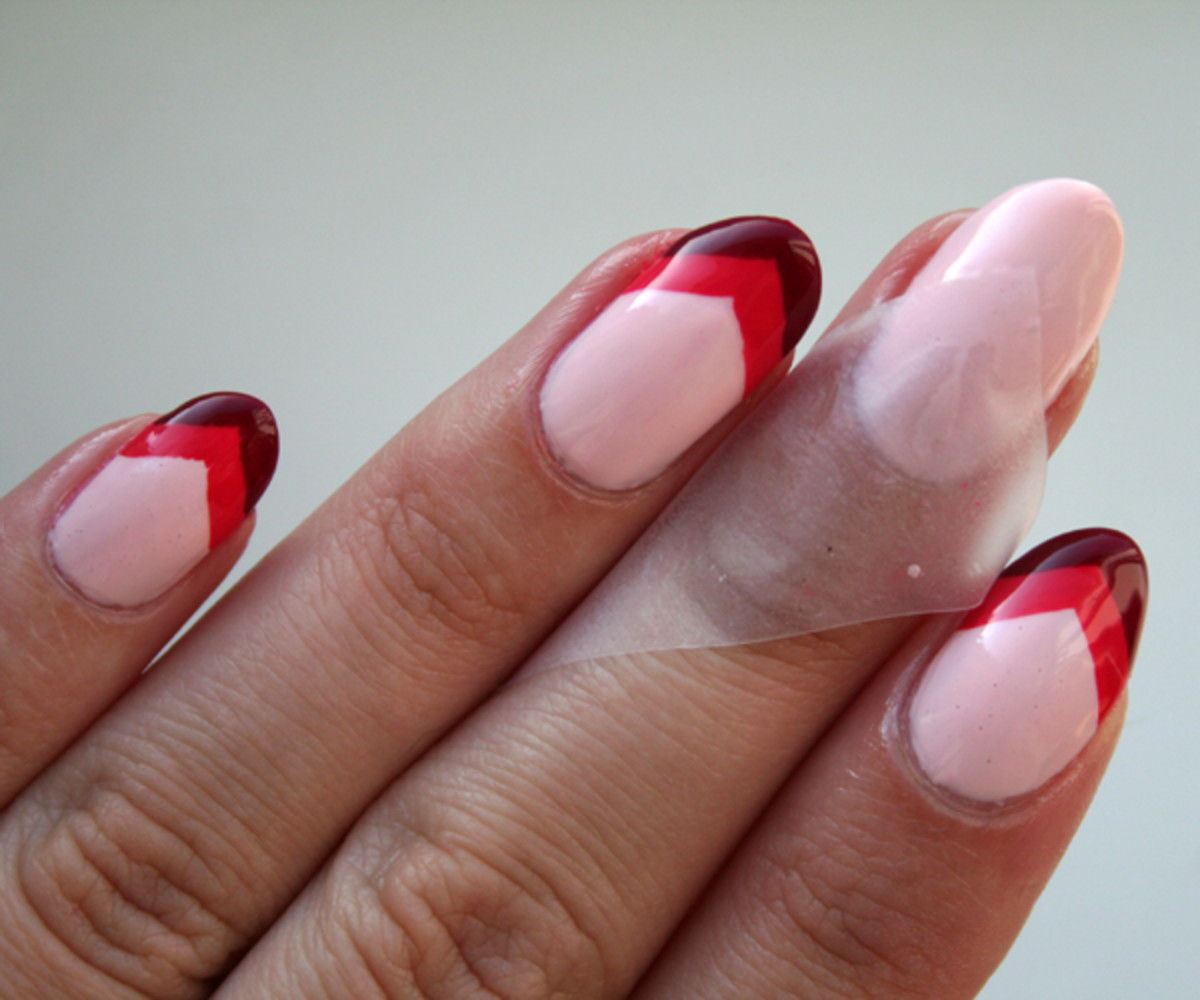
Pause Girls. Repeat the whole process again, placing another strip of tape over the last chevron you just made, like in the photo. Add the final colour, Seche Nail Lacquer in Irresistible, so that it's on the free edge of your nail.
Chevron Nails Step 7
Remove tape. Let that dry. Watch some more Girls. Add top coat.
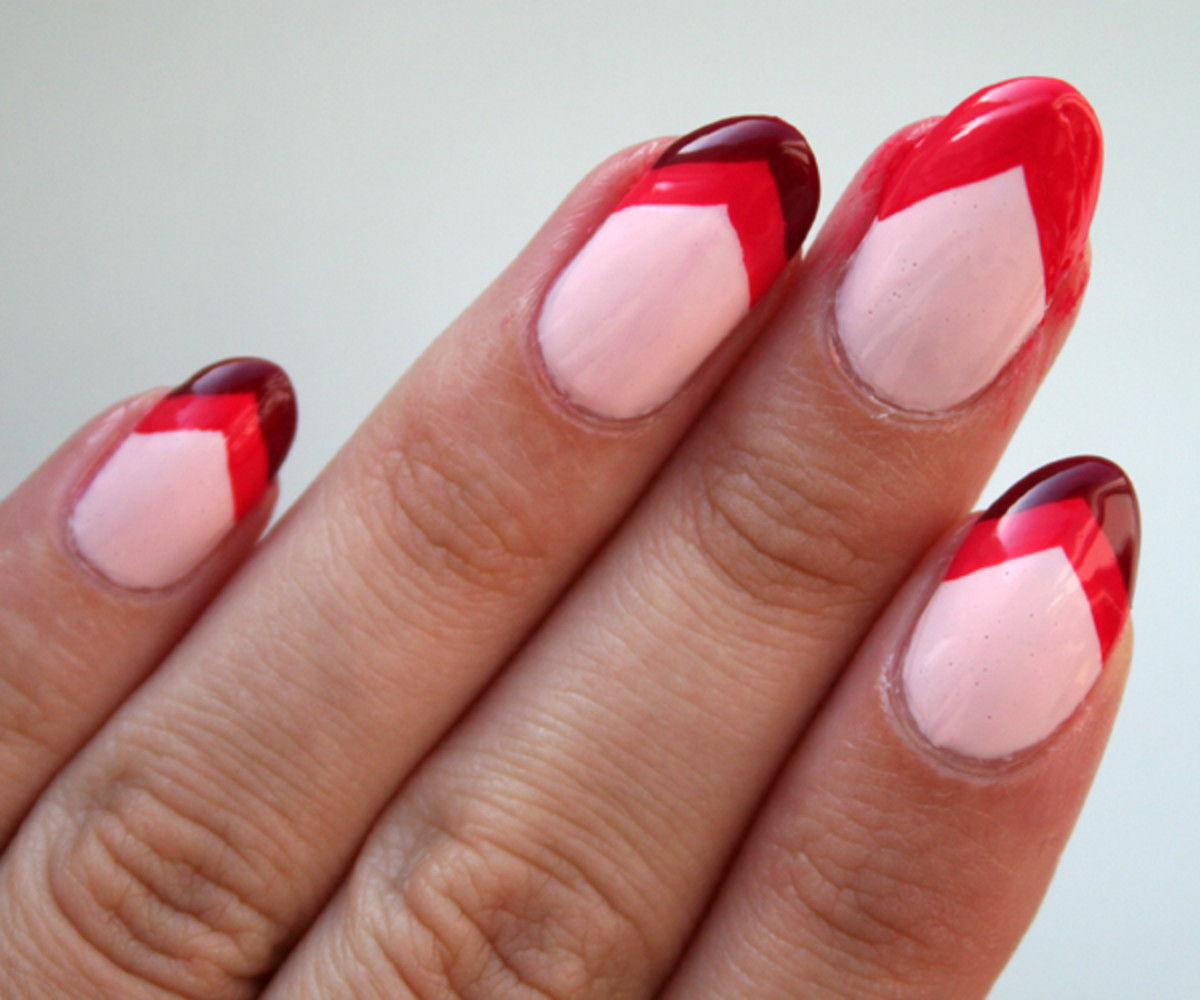
The final look
You now have really pretty nails!
If you're very brave, you could always attempt this freehand, making the chevrons using only a polish brush and a steady hand. That's what I did for my pointer, ring, and pinky fingers and it didn't turn out too bad. Give it a try if you're not interested in waiting for each layer to dry. But, the longer wait gives you a great excuse to watch Girls for half an hour, and that's never a bad thing.
Tell me:
Do you like this nail look?
Did you know Seche made nail colour?
Girls: do you love it or hate it?


28.06.2024 @ 10:56
Very informative and funny! For those curious to know more, check out: FIND OUT MORE. Let’s discuss!